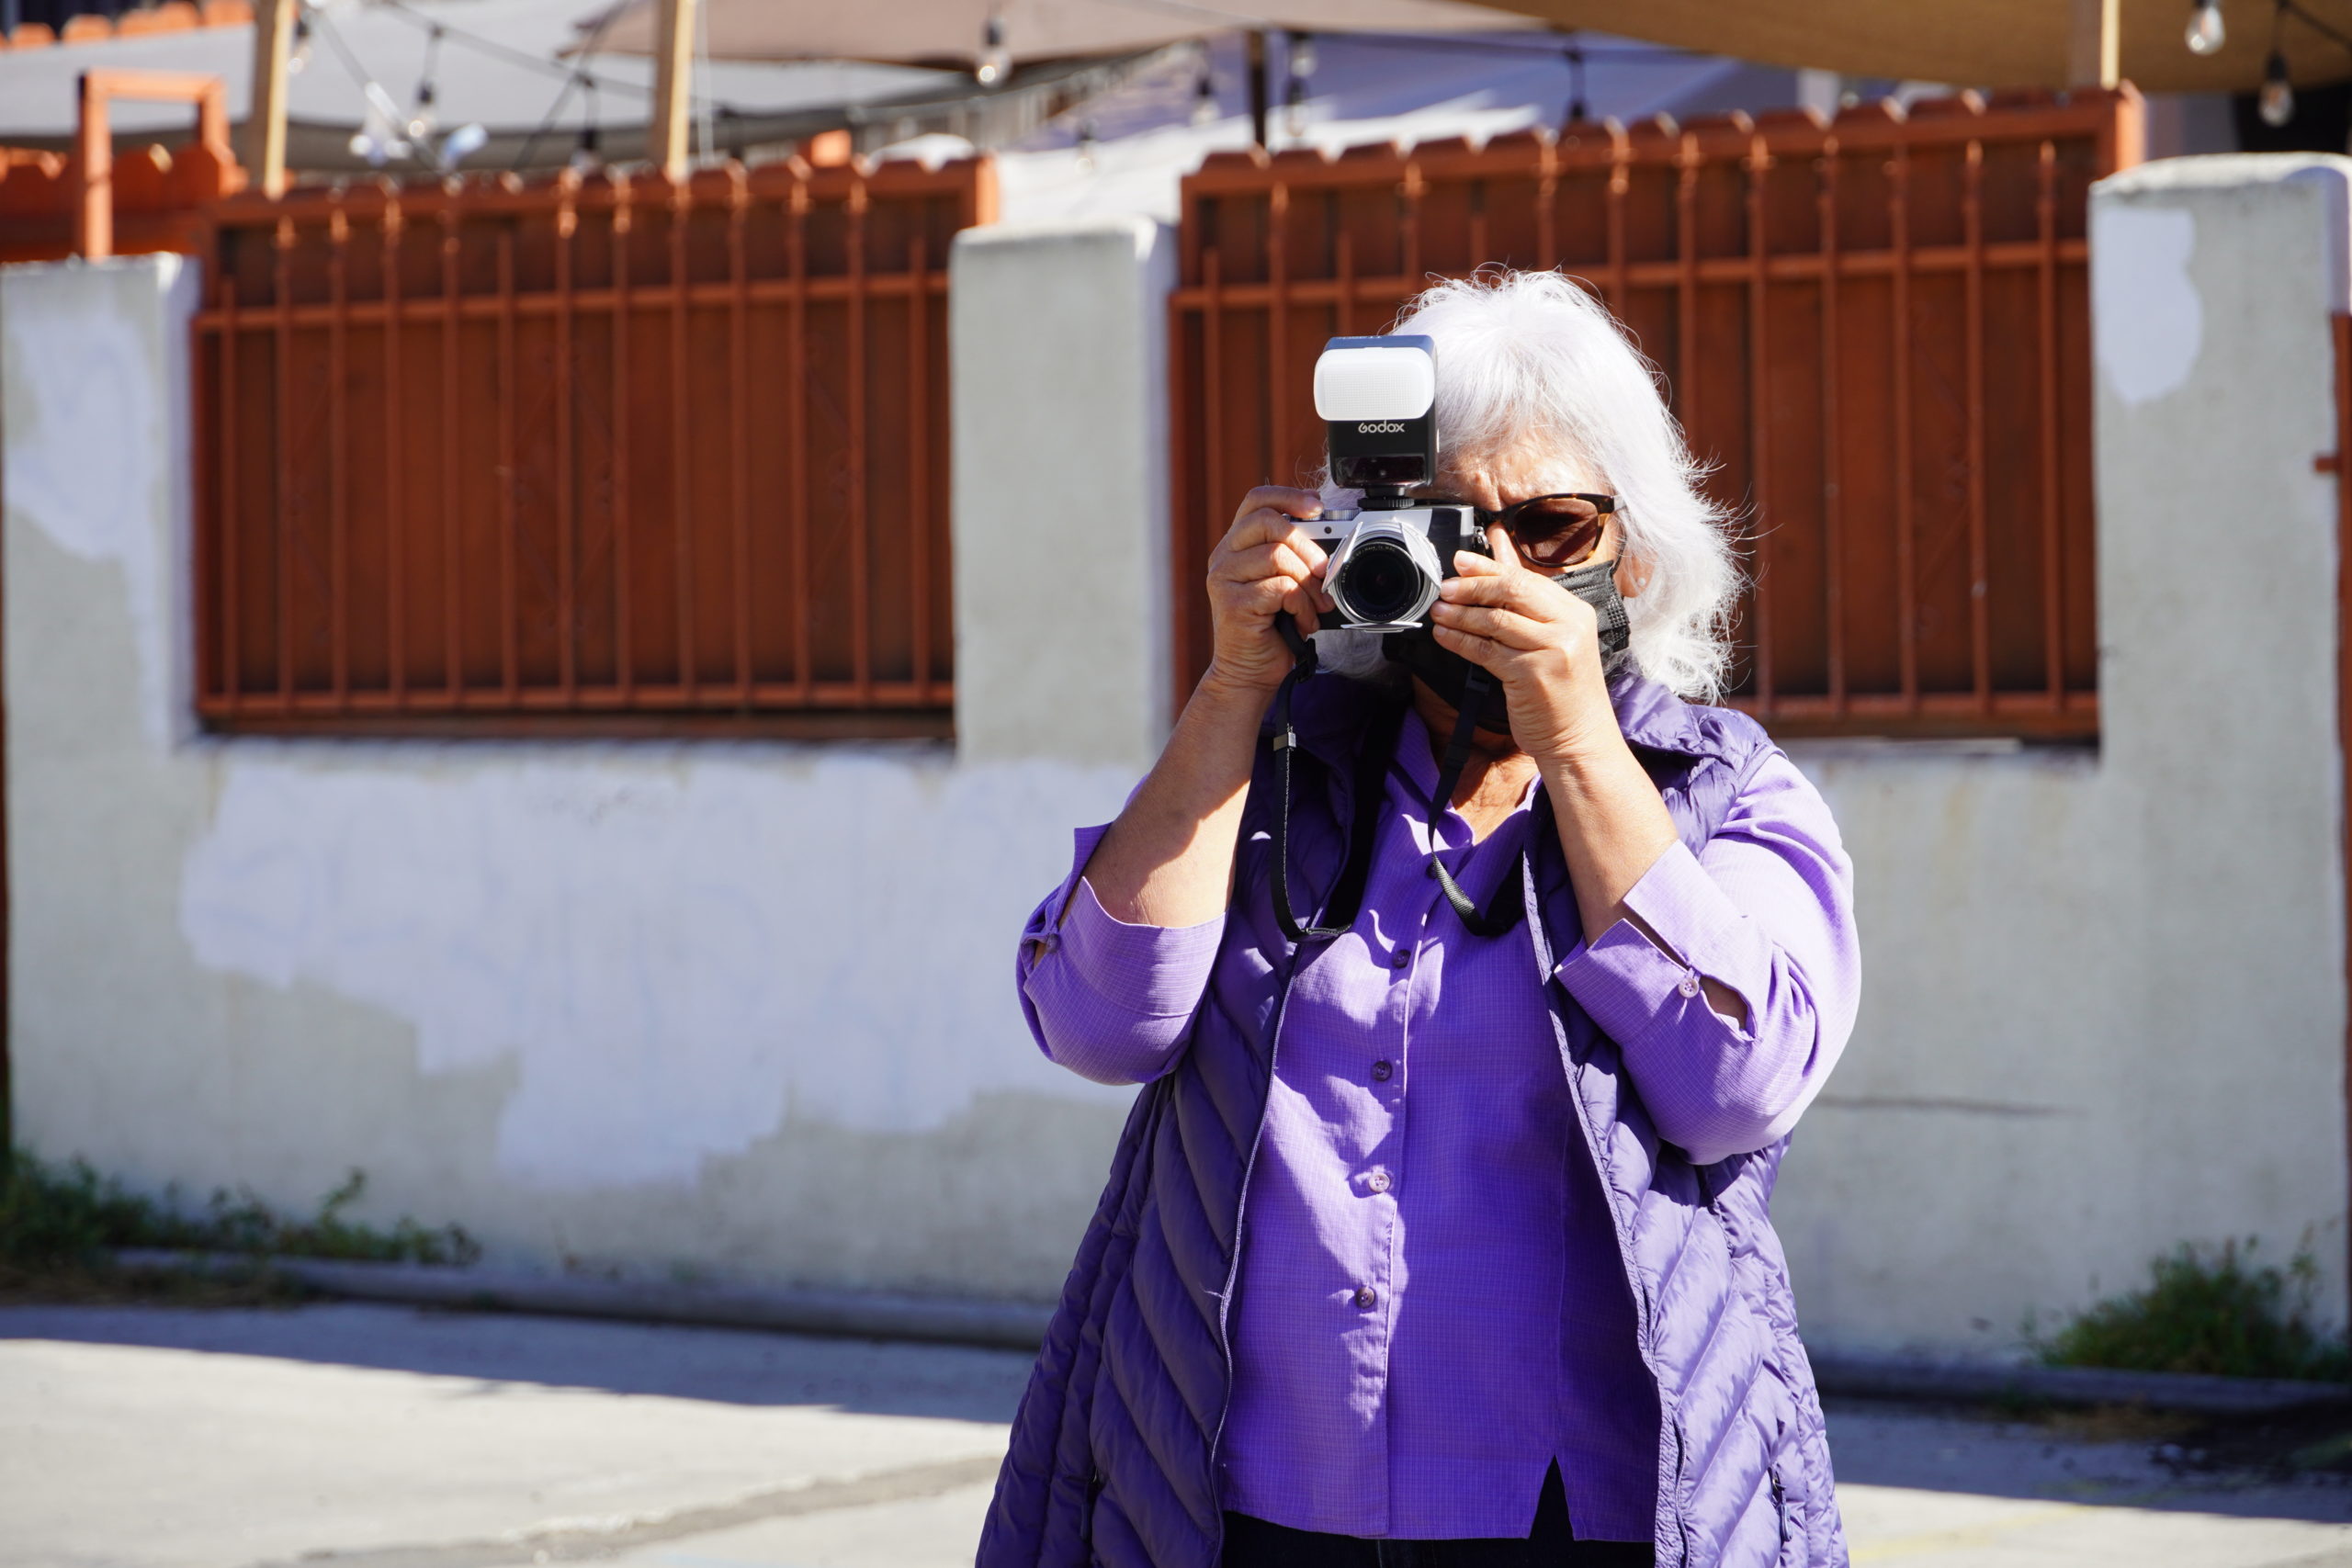
Bokeh (boh-kay) is the word that describes the beautiful, softly blurred points of lights in the background of an image. In order to understand how to create bokeh in your images we first need to talk about depth of field. Depth of field is the distance between the nearest and the furthest objects in the image. To create amazing bokeh images you want to have a shallow depth of field. This means that your foreground, or the object or person in front, will be in focus and the rest of the photograph, especially the background, will be out of focus and blurry.
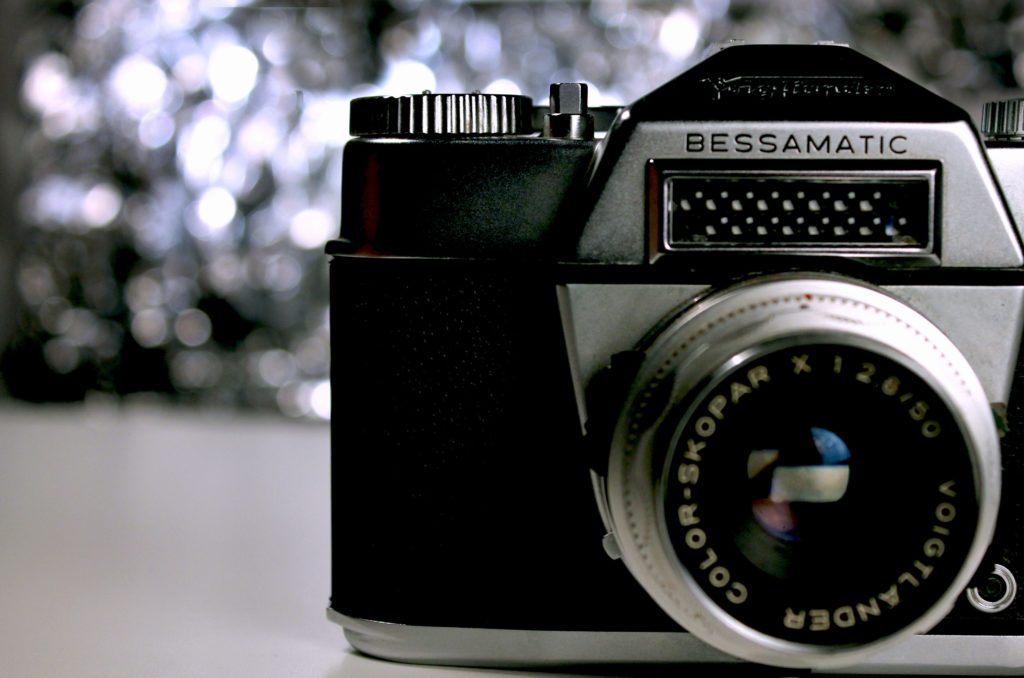
Lots of materials work well for creating bokeh, from colored foil to holiday lights work, but we love the classic look of plain tin foil paired with this vintage camera.
1. Gather materials
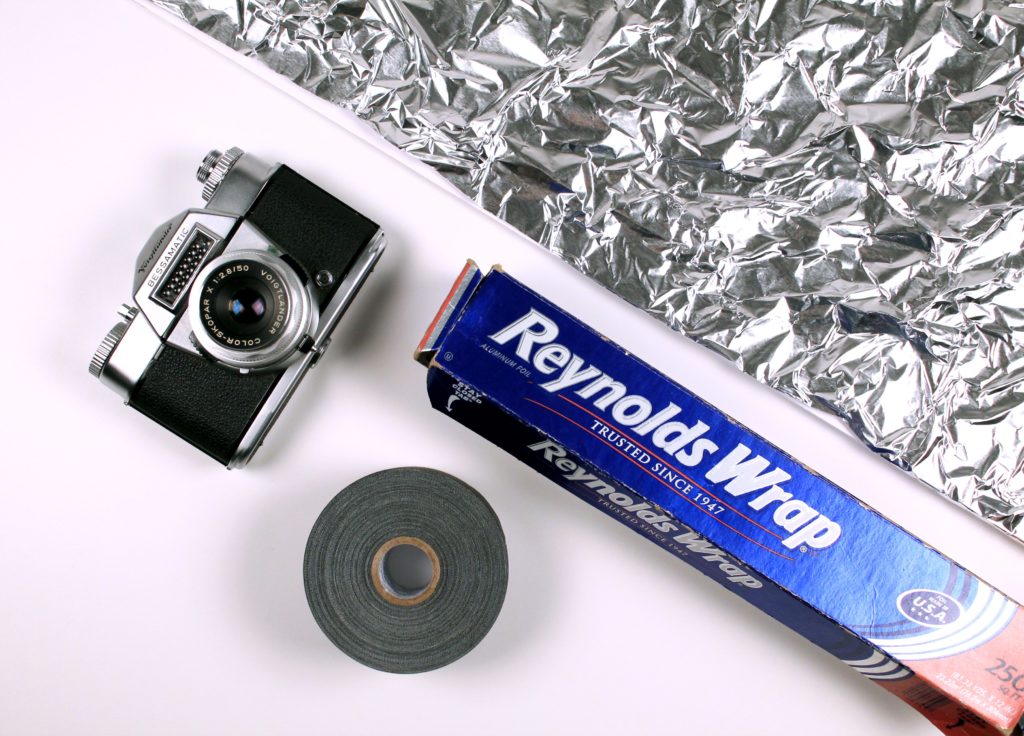
- Tin foil
- Tape
- Sturdy backing like cardboard, foam board or construction paper
2. Set aperture
Change your camera’s settings so you can adjust the aperture (or f-stop). This is usually marked on cameras as “Av” mode. We want to set the camera to an aperture in the low range, somewhere between f/2.8 or f/5.6. This will make your image have a shallow depth of field.
3. Place backdrop
Gently crumple a large piece of tin foil and fix it to a sturdy piece of paper or foam board. Point a light source like a house lamp or flashlight at the crumpled foil to create lots of small reflections.
4. Stage
The key to getting great bokeh with this technique is for you to be close to the subject, and for the backdrop to be far away from both you and the subject. This will assure that you get the largest bokeh effect, since the farther the foil is from the camera the softer, or blurrier, it will appear.
5. Bokeh!
Try a few different aperture settings and angles to see which works best for your lighting situation and subject.
Financial support is provided by the Gould Family Foundation and the City of San Diego.
For sponsorship or underwriting opportunities contact a member of the Development Team at development@mopa.org or 619-238-7559 x300.